Grounds → interior
Reach the hospital
Use the active waypoint to enter the hospital. Starting positions differ between published runs, so no fixed infil distance is assumed.
Follow the hospital rescue through its floor changes, then find the separate B2 key destination.
A numbered sequence, not a floor plan. Spacing and arrows show order only; they do not establish compass bearings, distances or exact entrances. Use your live mission marker and building signs.
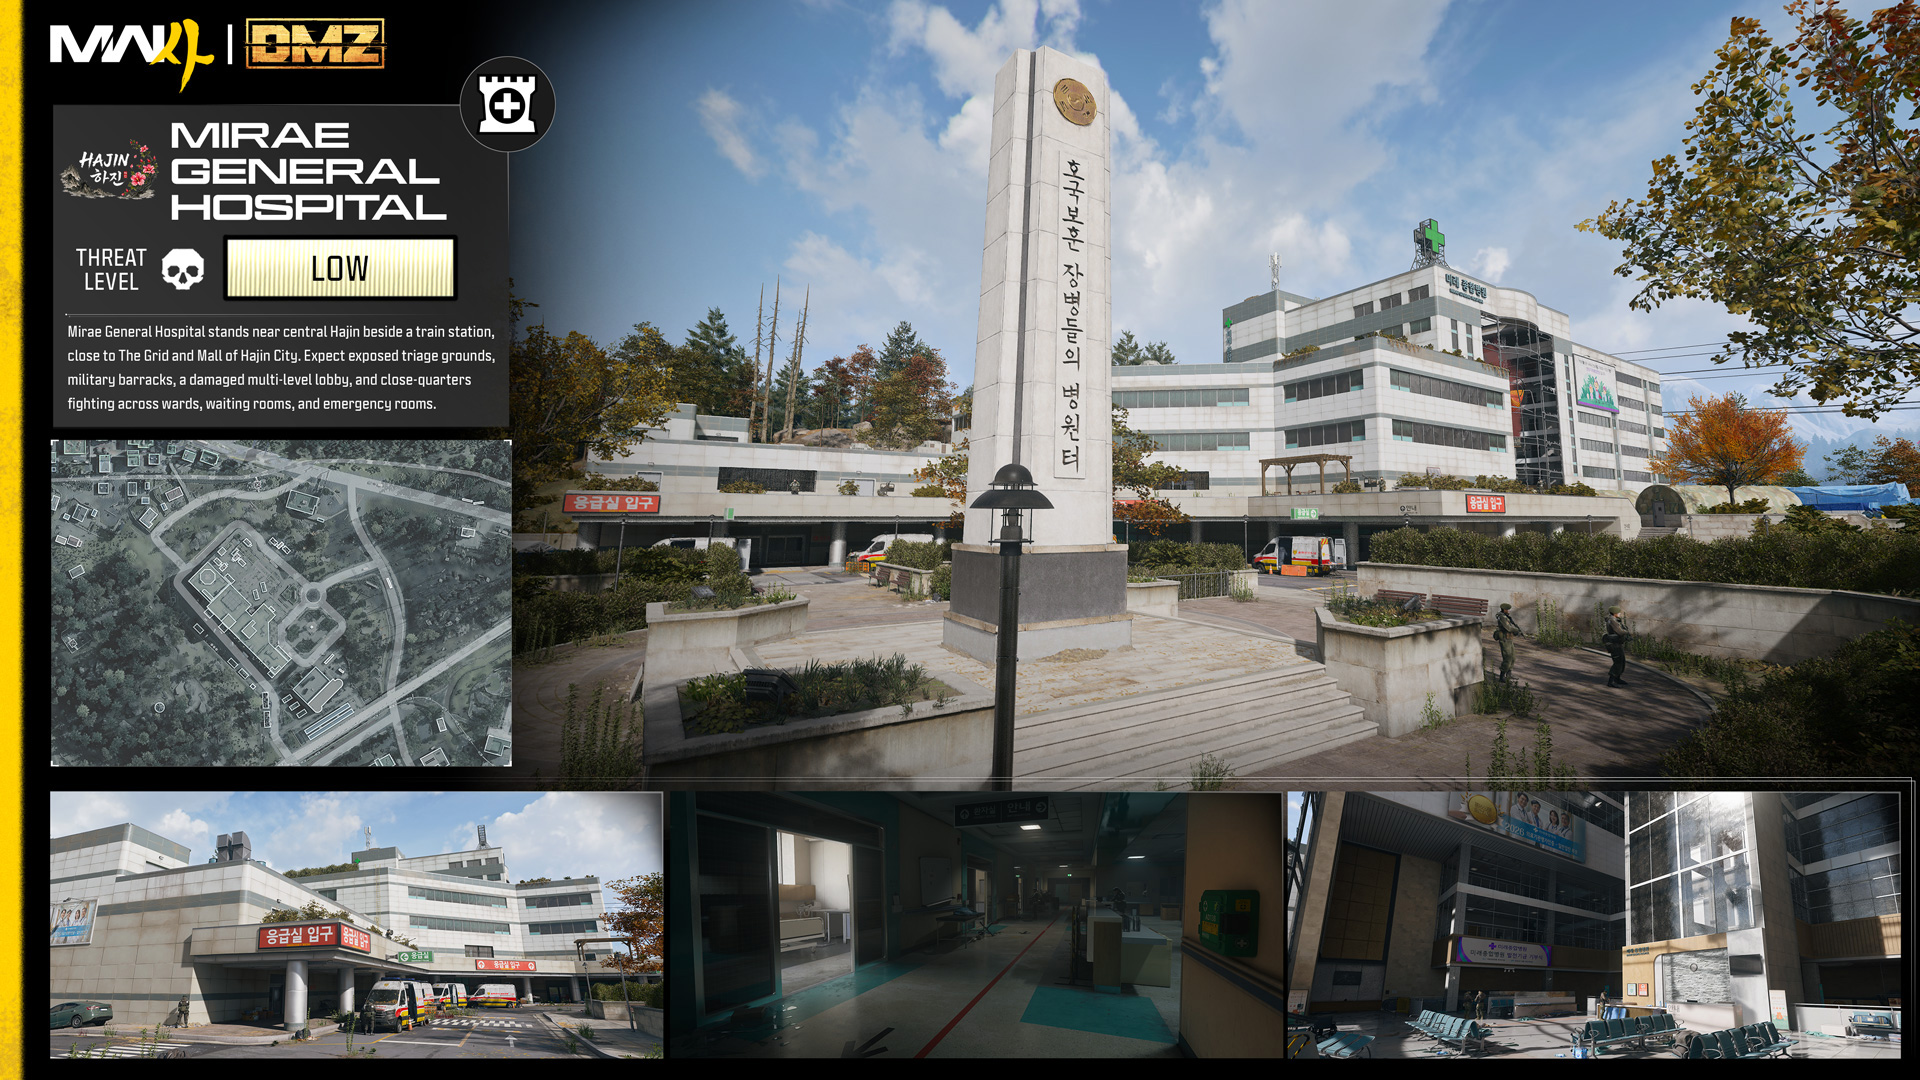
The official guide places the hospital beside a train station, south of Expressway No. 1. The memorial and ambulance entrance help identify the building; follow floor and stairwell signs inside.
Official exterior and interior reference: main facade and memorial above, ambulance entrance at lower left, corridor at lower center, lobby at lower right. This board does not identify the Electrical Room door or locate the route steps.
Open the mission and its progress checklist. Use the connected path for the recommended Medkit and 2-Plate Armor Vest, with ingredient checklists and acquisition alternatives.
Mirae Electrical Room key opens a different destination from the rescue. Check the reward record and your inventory before planning around it.
Defibrillator recipe access is separate from a finished item grant. Check the mission reward’s unresolved details before assuming a payout.
Select Operation Critical Extraction in the game and follow its active objectives. The connected preparation path lists the mission-card gear recommendations.
Use the active waypoint to enter the hospital. Starting positions differ between published runs, so no fixed infil distance is assumed.
Follow patient-room and nurse-station signage toward the mission marker. Interact with Kang when prompted; use the game prompt to confirm this stage.
Push the bed through the ward corridor. The first elevator descends to the lobby; this is not the roof lift.
Reach the lobby elevator bank with the bed and defend while its progress bar fills. Keep the rescue as the priority if another activity appears.
Once the lift opens, move the bed inside, activate the panel and ascend. Follow the upper corridor to the outside exit.
Move the bed up the helicopter's rear ramp. Follow the final interaction and completion prompts before treating the rescue as finished.
Watch for mission credit, then complete your own extraction if you intend to retain carried gear. The rooftop helicopter belongs to this described mission sequence; it is not established as a permanent free-roam exfil.
Confirm that the Mirae Electrical Room key is in your inventory. Receiving its reported mission reward and bringing it on a later deployment are separate steps; this door is not part of the rescue route.
Look for the blue roller shutter beneath a 3.6 m height bar. F5 narrows the search; it is not an entrance coordinate.
Descend the garage ramps and read the pillar level labels. Stop when they show B2.
Find the grey double door in a purple wall marked Danger. Confirm the Electrical Room unlock prompt before using the key.
The room is described as containing loot containers. Contents vary; there is no verified item pool or yield here. Key consumption, remaining uses and alternative entry are unknown. Retaining loot still depends on extraction.
The official location has a Low expected threat label; the mission guide reports a Medium briefing. Neither label promises a safe route or a fixed enemy count.
A published rescue run reports medical bags along the ward route. Inspect what is present in your run; the page does not establish fixed container positions or guaranteed materials.