Recognize the threat.
Published illustrations help identify the subject. Appearance and illustrated configurations may change between builds.
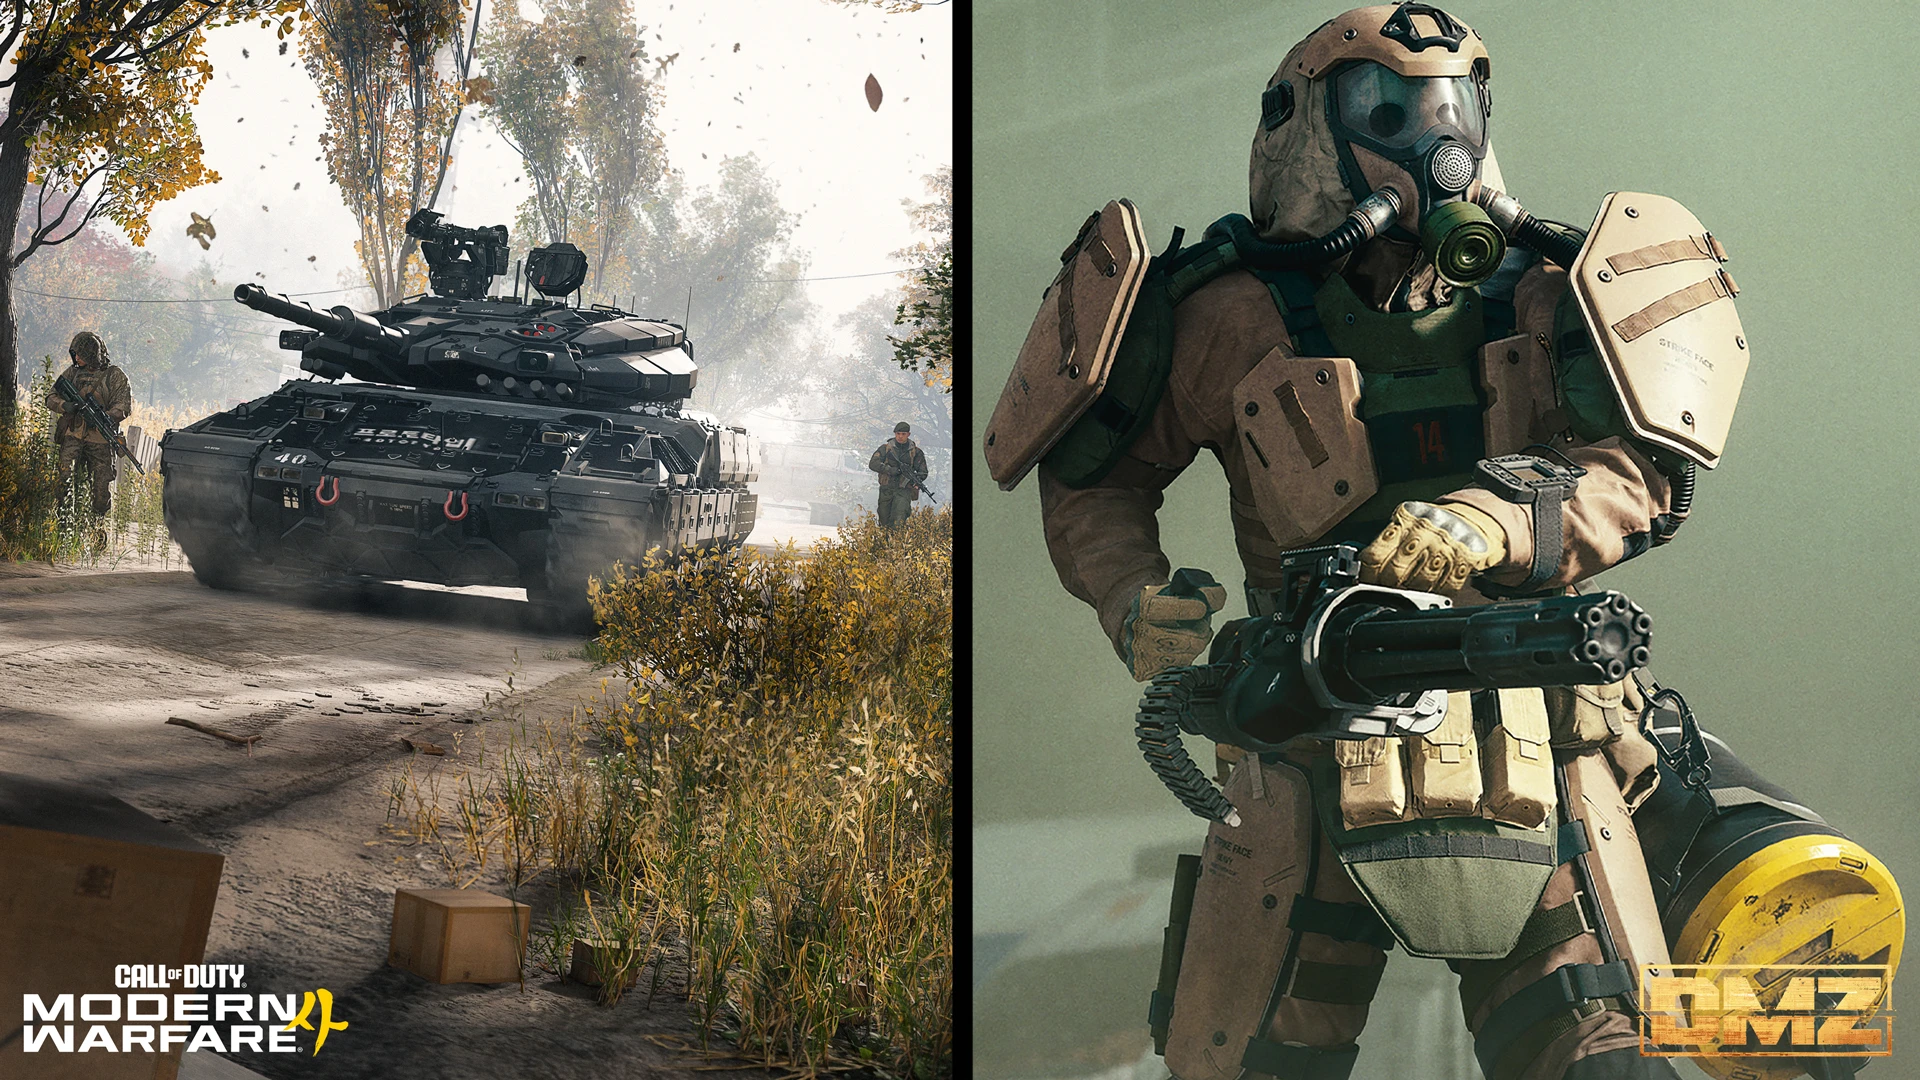
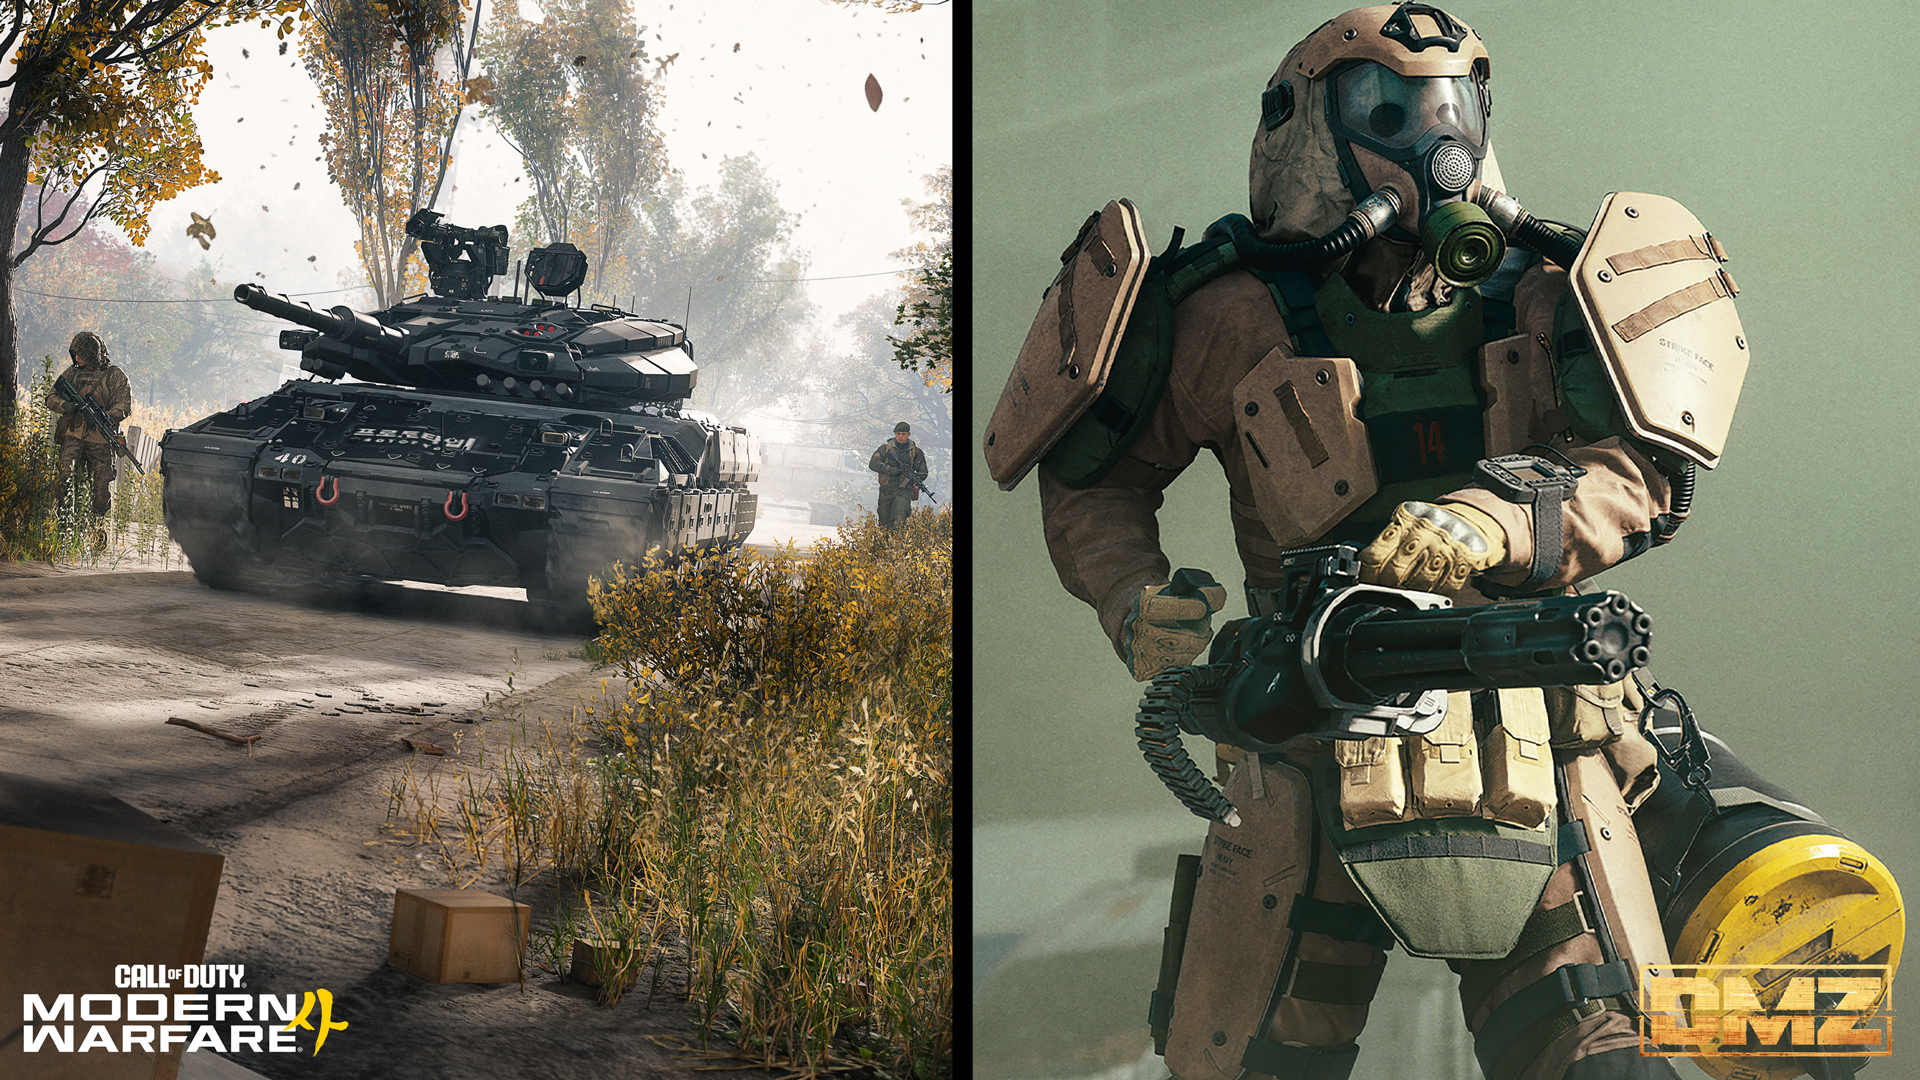
Treat the patrol as a moving encounter.
Know the threat
Nearby Commanders appear on the Tac-Map, with a Team Leader warning. Commander intel cannot be purchased.
The first defeat of each Commander is described as awarding cash; ingredient rewards require killing a Commander and extracting. No specific ingredient is mapped to an individual boss here.
Before you engage
Preparation tips; damage and health values are not available yet.
Watch the route first
From cover, establish where the tank is moving before crossing its path. Choose a position with a retreat route rather than following it into open ground.
Set squad roles
Name a spotter and agree on a fallback. Keep the route to that fallback clear instead of letting the squad converge on one exposed firing position.
Avoid an unsupported damage assumption
Choose your equipment using what you have actually unlocked and can replace. This brief does not establish rear-armor bonuses, weak points or a required number of explosives.
Find the encounter
Use the live Tac-Map and warnings to confirm contact. The atlas gives area context; it does not supply a fixed Commander spawn.
Loot, rewards & recovery
Commander ingredients
Valuable ingredients are described at Commander-group level.
Group description only. This does not establish an individual Commander's ingredient pool or a carried-weapon pickup.
Keep the reward run separate from the kill: check what you recovered, then complete extraction. Do not mark a planned ingredient acquired just because a Commander died.
Details still unavailable
- Armor zones, health and verified damage multipliers
- Patrol route, timing and spawn frequency
- Individual ingredient pool and quantities
At a glance
- Archetype
- Commanders
- Classification
- commander
- Notes
- Ingredient association is group-level only; no specific item or spawn mapping is asserted.